EditorTutorialShapeTerrain
Outdated
Tutorial to Using the Widelands Map Editor
< back to Editorhelptutorial
Shape the Terrain
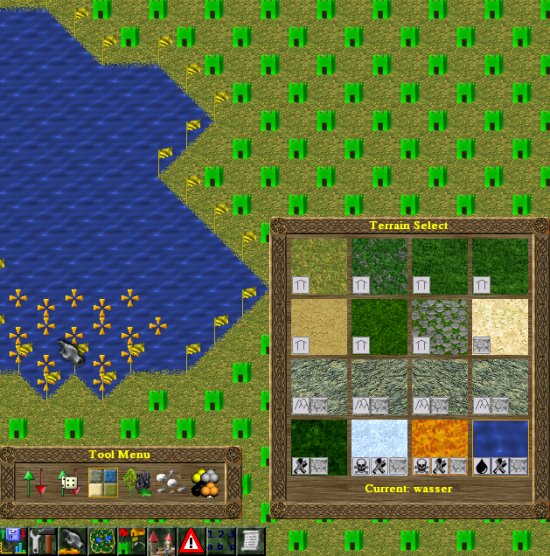
So now that we have our map in the desired size, let's start transforming the boring plane into a beautiful island. For that, open the Tool Menu (second buttom from the left at the bottom of the screen) and choose there the Terrain Tool (the third one).
Let's begin with the southern coast of our to-be-island and move northwards then. It doesn't really matter where we place that, for Widelands maps do not have any edges - if you reach one 'end' of the map you just come out at the opposite side.
| Image | Description |
|---|---|
 |
We start with placing water roughly the shape of the future coastline. For that, we select the water-terrain from the Choose Terrain Menu, increase the Toolsize to about 3 (easiest by hitting the hotkey 3) and simply draw the water. Another possible way to begin the map would be to fill everything with water and begin then with drawing the land instead. |
Now that we have at least something to orientate at, we start moving inwards. For a good looking map, it likely would be recommendable to place terrain types which look somewhat like something that could actually be at a coast next to the water; for instance, we could place the dark green grasslands next to the coast of course, but that would create quite a sharp contrast (not that one could not intend that, but for a realistic looking map we will rather try to avoid it).
| Image | Description |
|---|---|
 |
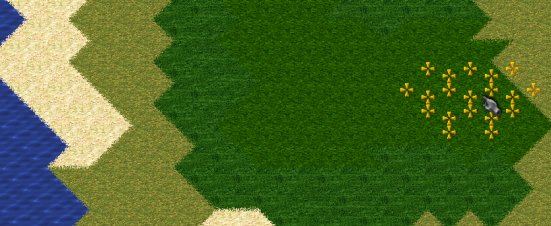
Instead, we use steppe,strand and the brighter grasslands for the coast and create a calm transition to the darker grasslands of the inner country. For that, it will probably be necessary to switch to a smaller Toolsize, 2, for instance. Remember that you can choose several terrains by holding CTRL while selecting them. Changing the terrain then will result in a random alignment of the chosen terrains. |
We move further on and try to create an interesting landscape. Remember to place some mountains as well, wherein you can put some ressources later. Swamps and the like are unpenetrable obstacles and onto mountains no military buildings can be built, so you can use them as blockades. Water puddles can provide supply of fish, thusly an easily built food source. A narrow point dividing the island into two separate halves can become a most desired place to conquer for its strategical value. You can place small mountain meadows into big mountains, thus allowing to build military buildings into them, but only at particular - again most fought-for - spots. That way, by placing the terrain, you can decisively change the way the map will be played upon.
The possibilities for terrain alignment are limitless; some good-looking alignments are also:
-
snow at the middle (later peaks) of mountains
-
puddles of water in grasslands
-
mountain meadows ("bergwiese" around mountains)
-
...
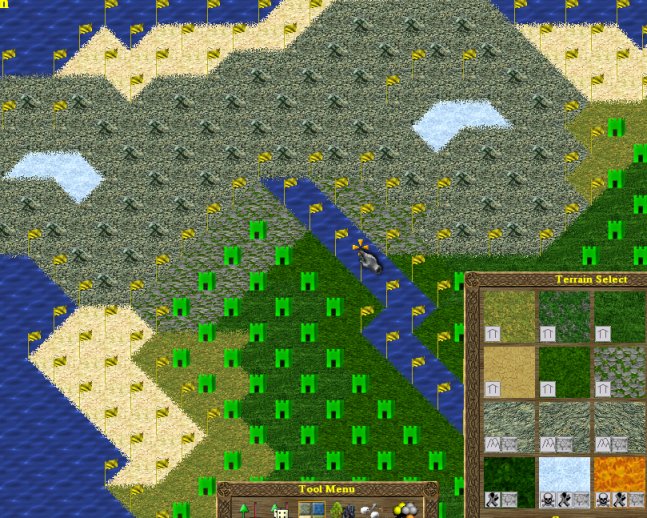
Here an examples of a mountain with a river nearby:

All water is surrounded by a slightly different kind of grass; the lower flanks of the mountains are partially covered with grass. The mountain has snow-caps on two spots, which will become two peaks later.
Setting the terrain types will be probably the by far most time-consuming part of making the map.
After we are done with that, we move on to changing the two-dimensional flat plane into a three-dimensional landscape .
There is no need to put all terrain in place at once; if you prefer to, you may just as well place the terrain for a part of the map and proceed with the following steps on that part of the map then, before you continue with the next part of it.


